Cleaning The Grill
Did a little work on the grill after I got it. It definitely needed a good cleaning on the inside, although I don't have any before pictures. I do have some progress pictures.
Mom and I moved the grill down to the lower deck (still in disbelief that I've gotten this $400 grill for free). I scrubbed down the propane tank and gave that a little power washing. Next I took the grilling plates out and scrubbed those down with degreaser / soap water. Then power washed them and set those to the side. I should have taken pictures ..but I got carried away with cleaning.
Next were heat shield deflectors that help dissipate the heat from the three different burners. I did the same as with the grill plates. Then came the fun part, the heating elements. These carry the gas the length of the grill etc are bolted in. I needed to remove these to be able to clean the bottom of the grill. The first one came off fine. The middle one...not so much. The bolt had been stripped probably when he either put the grill together or when trying to clean it. So, I skipped this one and went to the third one and that one came out just fine. Using a 10mm socket and ratchet on the back side of the bolt and a Philips head screw driver for the top.
I definitely spent more time on the middle on than I should have. Finally, I just got my metal drill bits out and drilled right through it. Which worked just fine. After dealing with this I decided to make a few mods. First and foremost would be new bolts that have a deeper slot for the screw driver, preventing stripping (hopefully). See below:
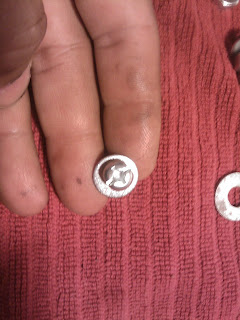

I also made sure that the bolts I put on the back were 10mm as well. This way I wouldn't have to switch sockets and what not if I needed to take things apart again.


Below you can see the new set up.


Here's the inside of the grill all cleaned.

All clean....


Comments